This document aims to guide you through the necessary steps for migrating your Vision Installation to a new server. This document is written specifically for Vision 5 or higher. It assumed that your server installation is running within a Microsoft Windows environment. You will require full admin access to your systems infrastructure to complete the following tasks.
Phase 1 – Making a copy of your database.
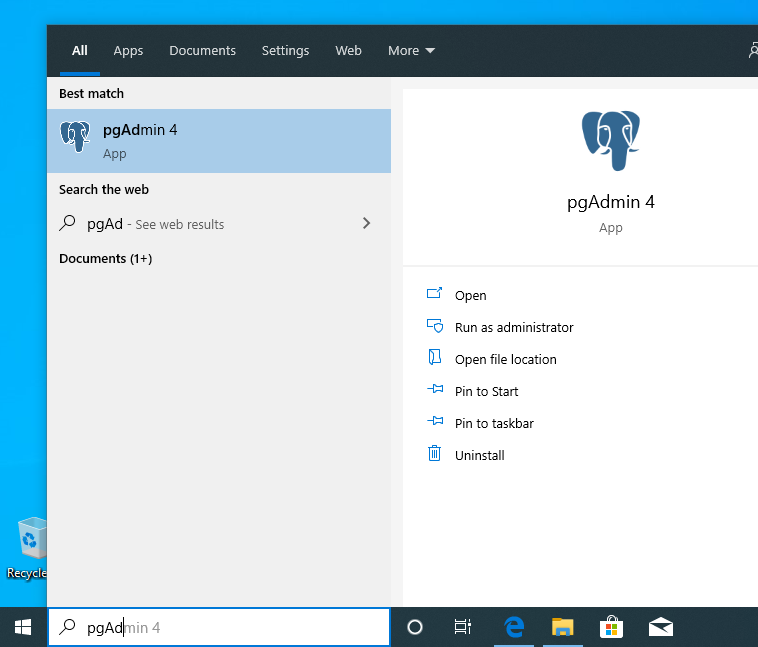
- On the server that hosts your PostgreSQL server, launch the pgAdmin tool. You can do this by using the search function within the start menu to look for pgadmin.
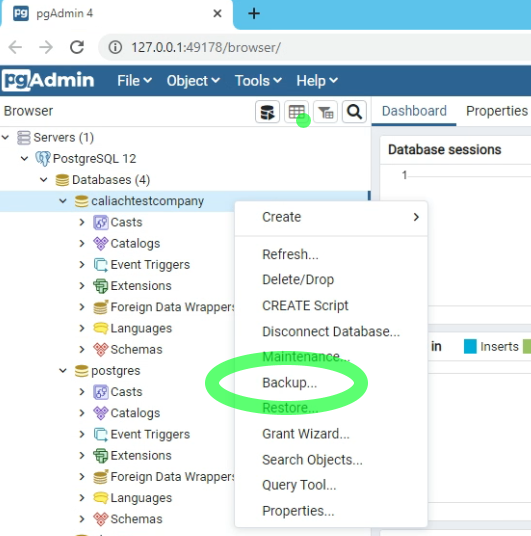
- In this example, we are using a database called ‘caliachtestcompany’. As illustrated in the below screenshot, right-click on your live database and select ‘Backup…’ from the contextual menu.
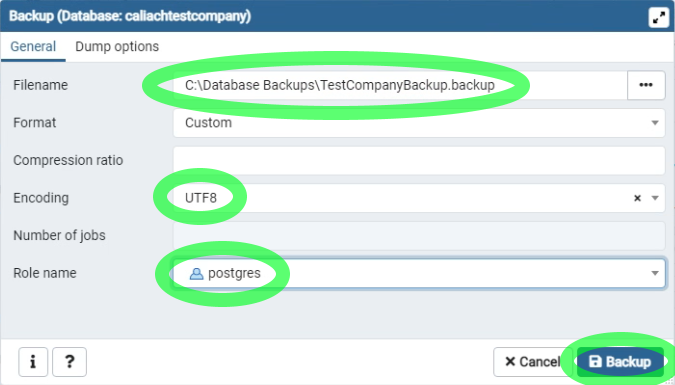
- There are many types of formats available when you back up. These include Custom, Tar, Directory and Plain. However, Custom format is the most popular. The resultant files will have the extension .backup.
- Select Custom format, select a location, and the file name to be created as illustrated below.
- Once the backup has completed successfully, you should see the below acknowledgement.

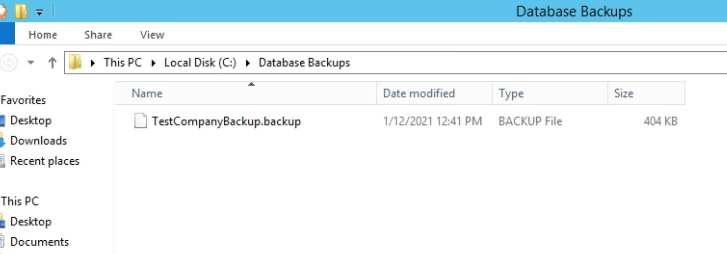
- You should also visually confirm that your backup file has been written as expected before proceeding.
Phase 2 – Installing Postgres 12 on your New Server
It is assumed that you or your ISP have built, configured, and added your new server to your network in readiness for the following steps.
At the time of writing this document, PostgreSQL 12 is the highest version of the database certified to work with Caliach Vision V5. The installers can be downloaded from:
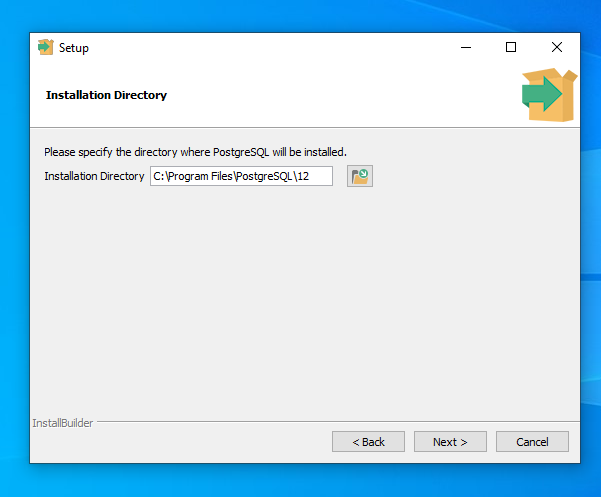
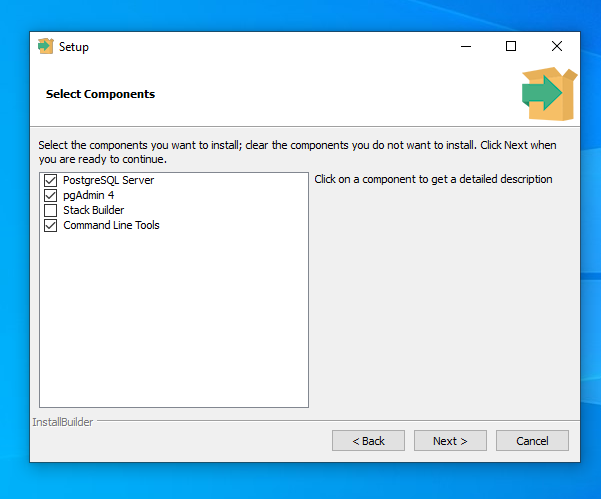
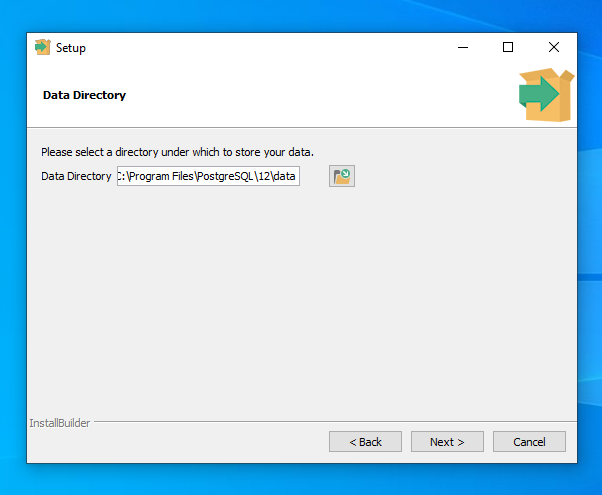
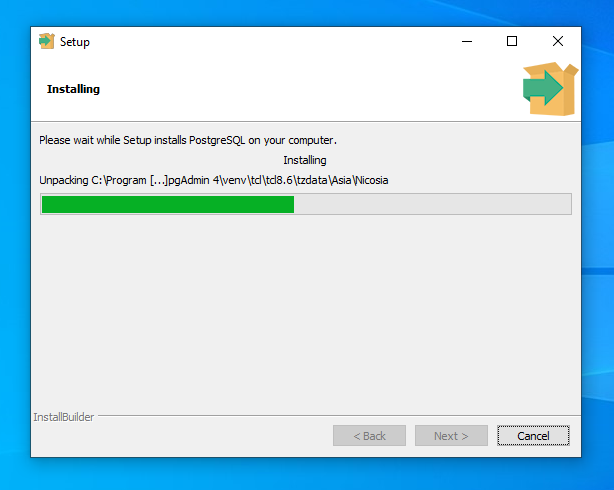
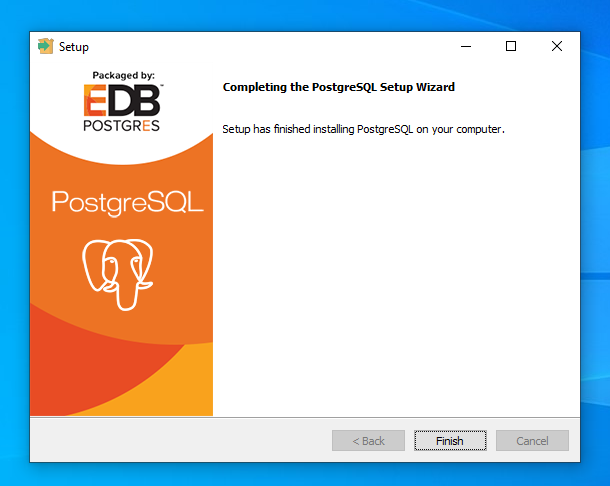
Download and run the installer to begin.

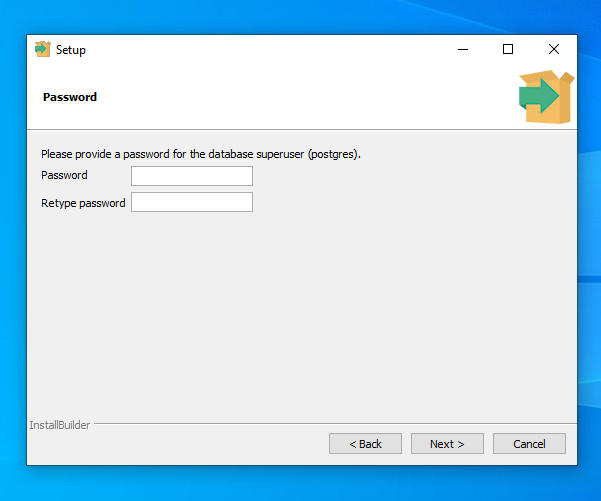
Create a strong password for your Default PostgreSQL superuser account. It is ESSENTIAL!! that you remember this password and keep it stored in a safe place.

Choose a port number that your PostgreSQL server will listen on. For the purposes of this demonstration, we will be using the default port 5432. However, you may change this if you wish to do so. Again, you should make a note of this as it will be needed later in this configuration process.
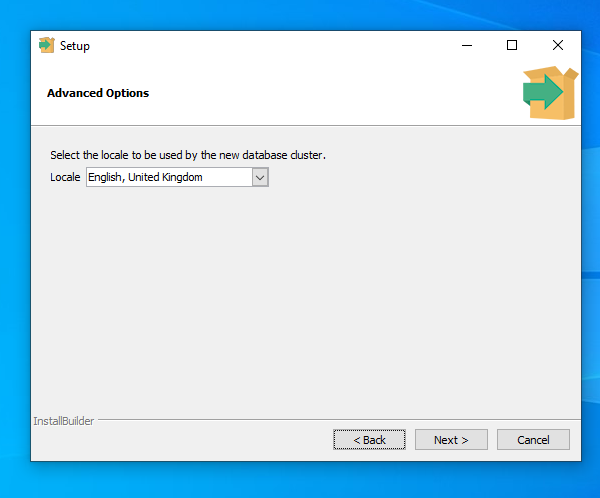
Enter your regionalisation details as necessary. Make sure that you enter the correct information as incorrect configuration will result in timestamps within Vision being incorrect.


Phase 3 – Database Setup.
Restoring database.
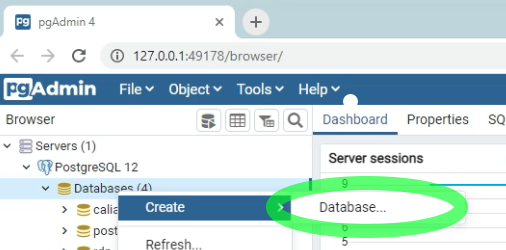
You will need to launch your pgadmin utility, search for ‘pgadmin’ using the search function within the start menu.


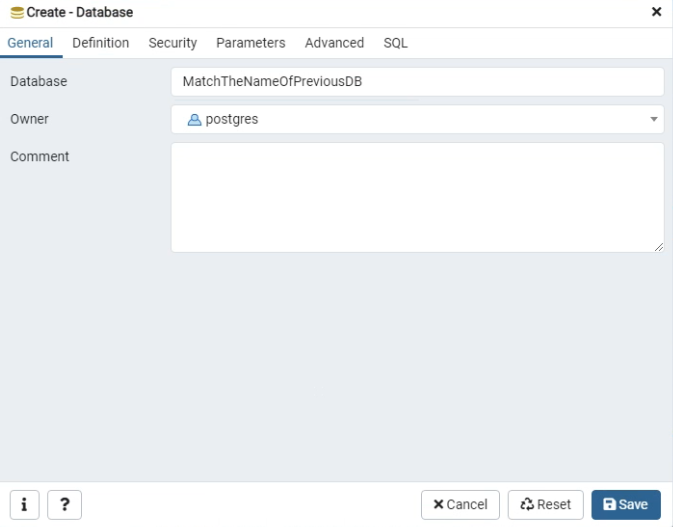
At this stage, make sure that the database you create carries the same name as the database on your old server.
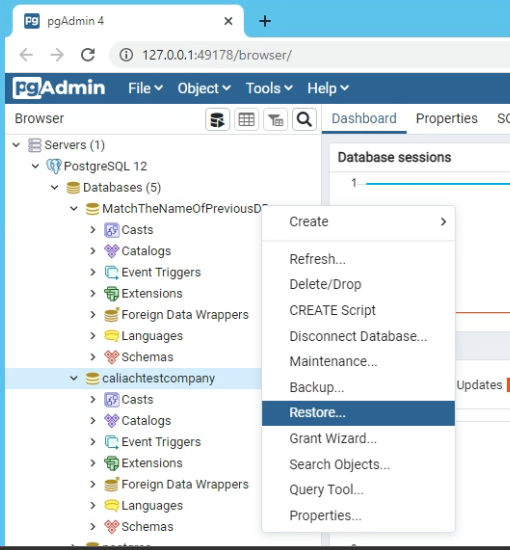
Use the Restore function to restore you database from the backup file that you created in phase 1.

Upon successful completion, you will see the below dialog:
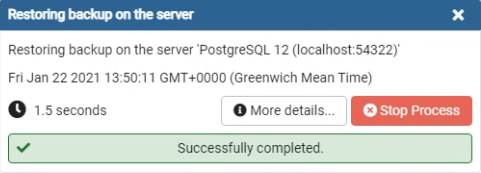
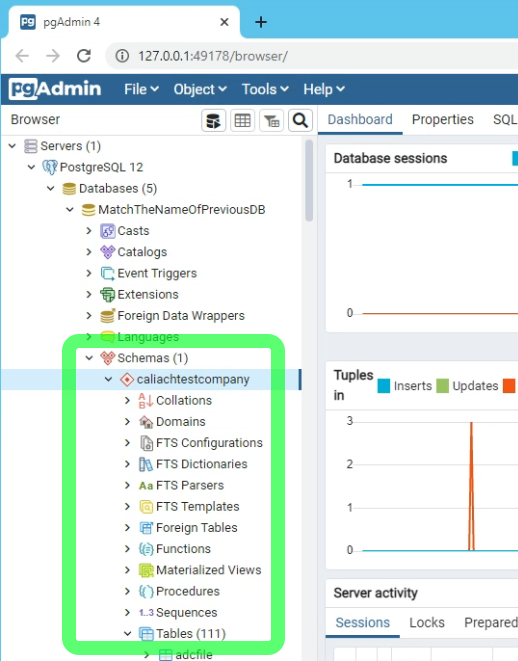
You can also check the Schemas to ensure they match those of the outgoing server.
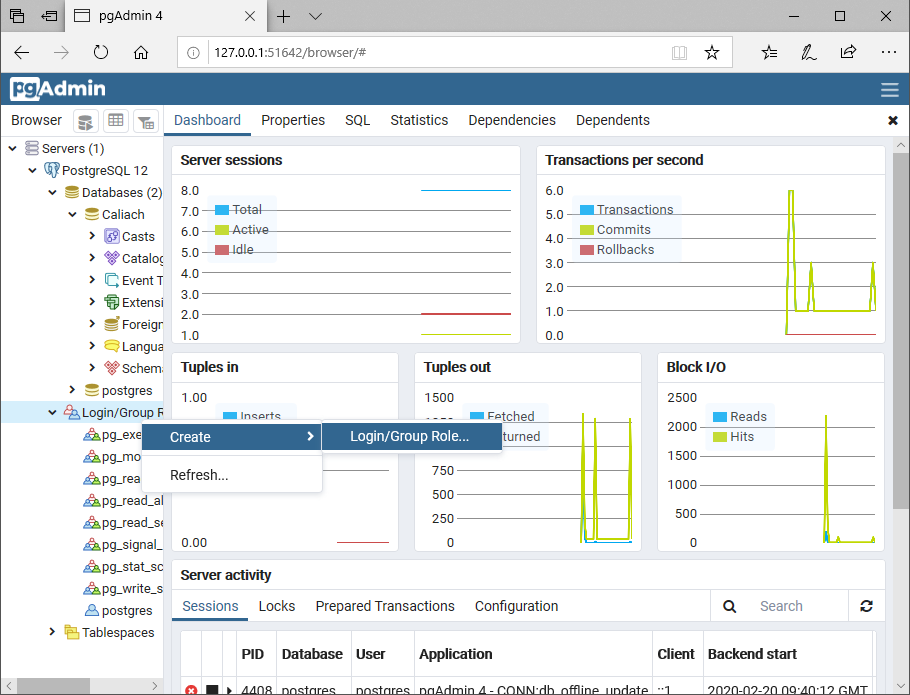
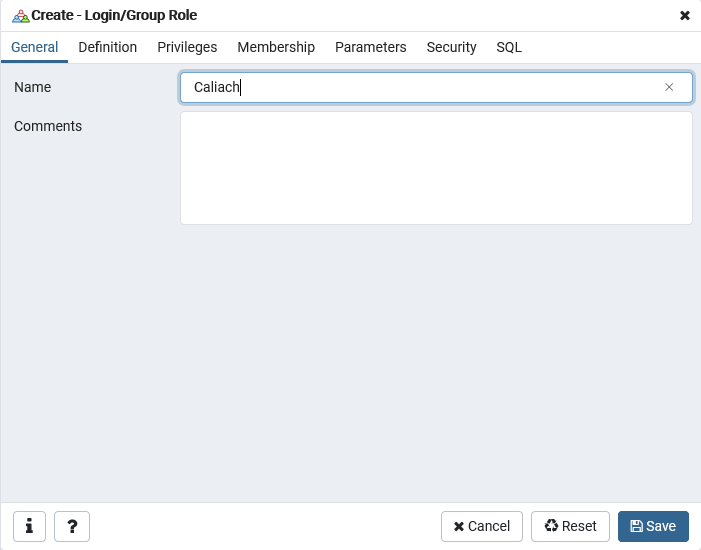
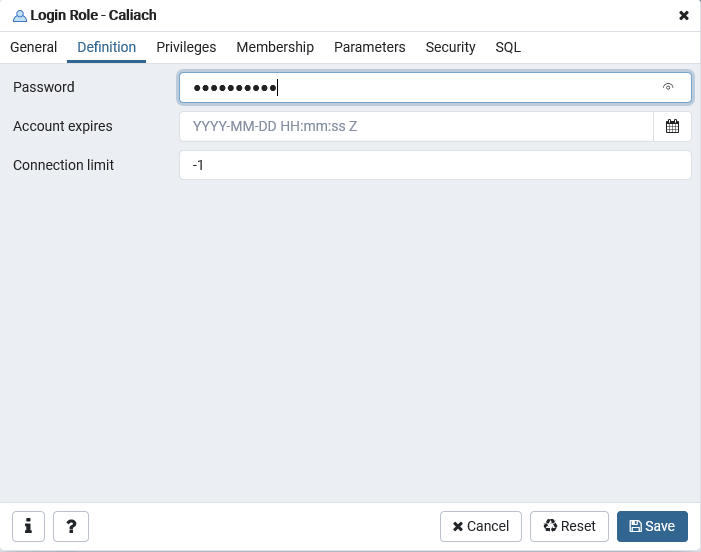
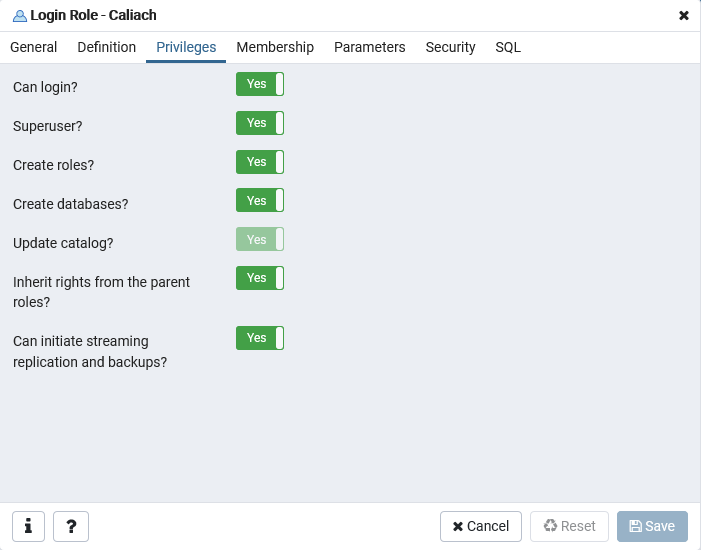
Database Admin Creation
We advise that you create a secure admin user for the database. These details will be used to link Vision to PostgreSQL, so make a note of them as you will be needing them later.
Setting up database network access.
This procedure enables your PostgreSQL database to be accessible to Vision client machines distributed around your organisation’s internal network.
Open a Port in your Firewall
This section is only applicable if you are using Windows Defender. If you are using a third-party security package, you may need to refer to its associated documentation to complete this task.
By default, Microsoft Windows Defender Firewall will block network connections to PostgreSQL. For Vision clients to be able to connect, we must configure the firewall to allow these connections.
In this example, we will allow connections through port 5432, this is the default port for PostgreSQL that we specified during the PostgreSQL installation process.
- Launch Windows Control Panel.
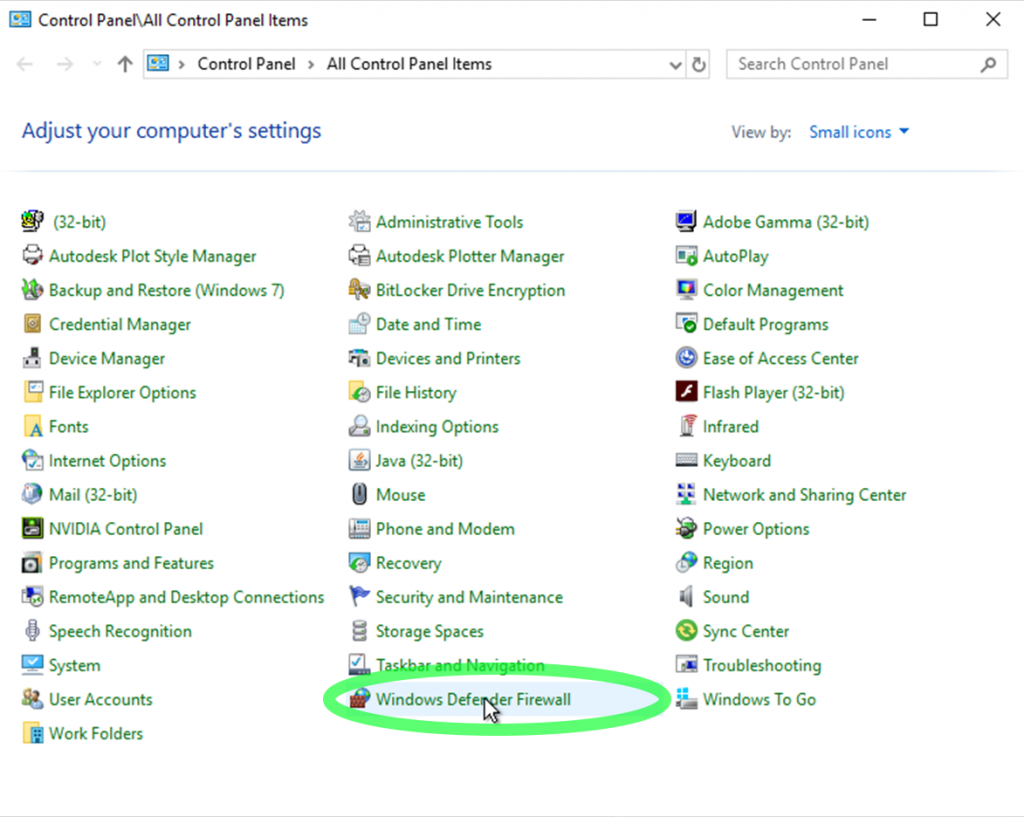
- Choose Windows Defender Firewall. When the panel opens, click on Advanced Settings in the left-hand pane.
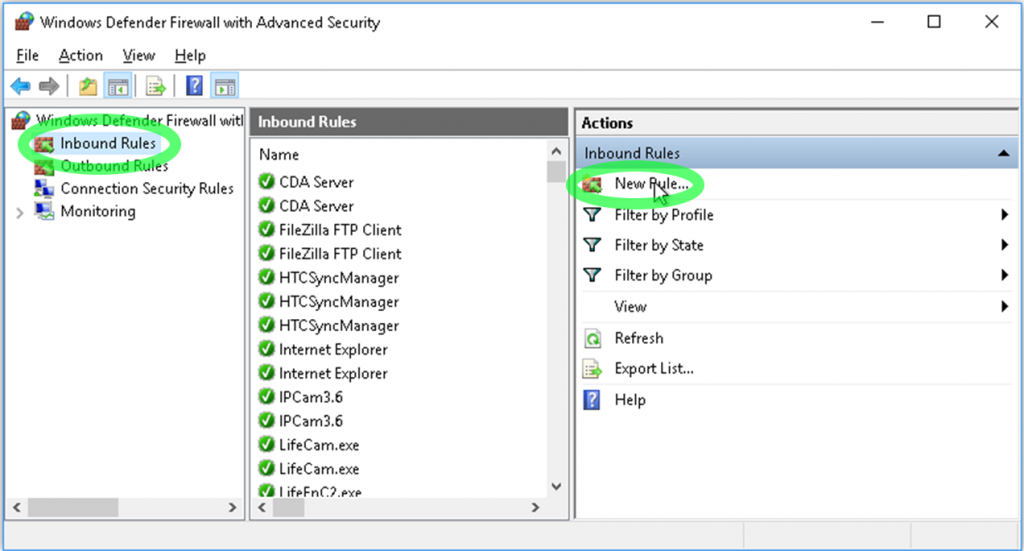
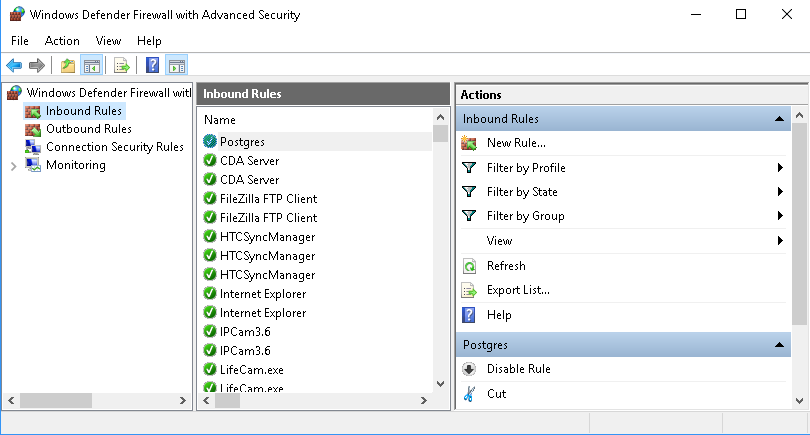
- Click on Inbound Rules in the left-hand pane. The window should look like the above screenshot. Then click on New Rule.
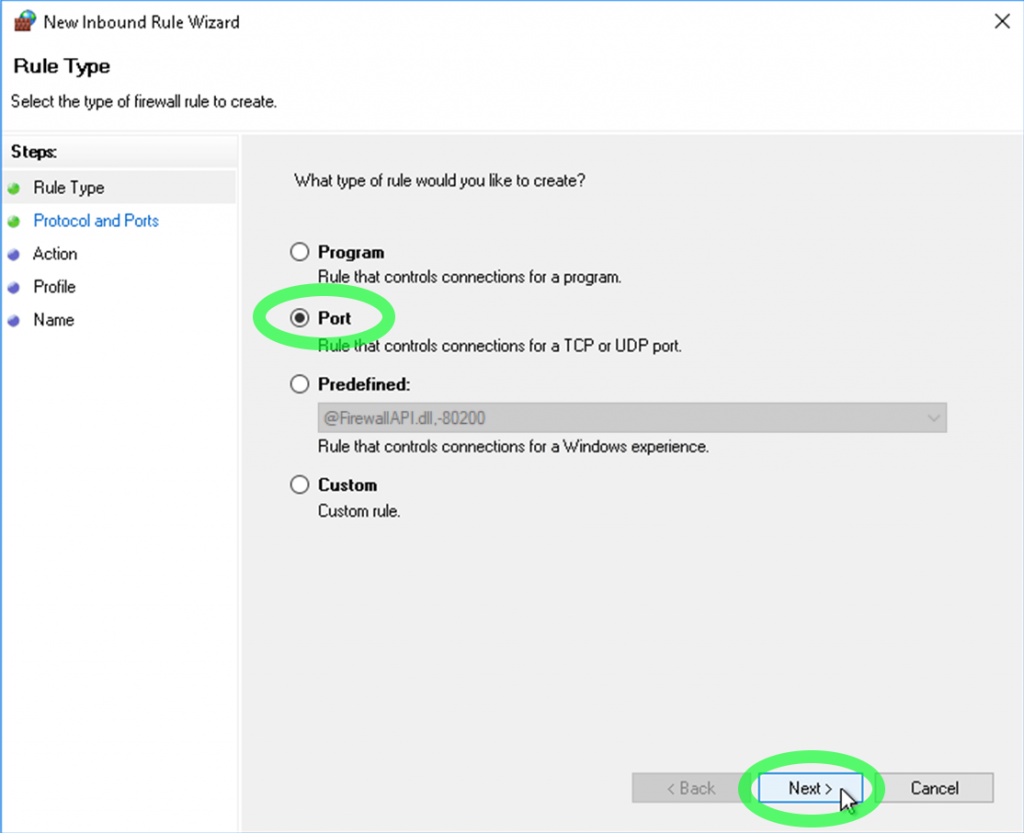
- Choose Port and click Next.
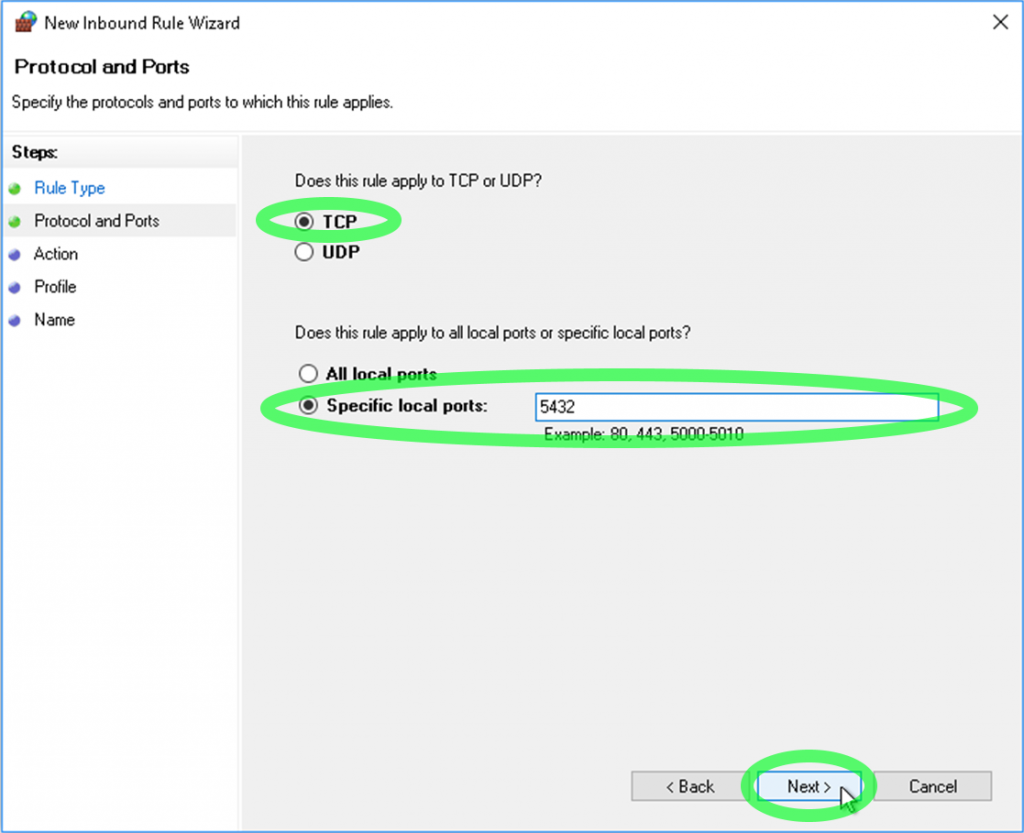
- Enter 5432 and click Next.
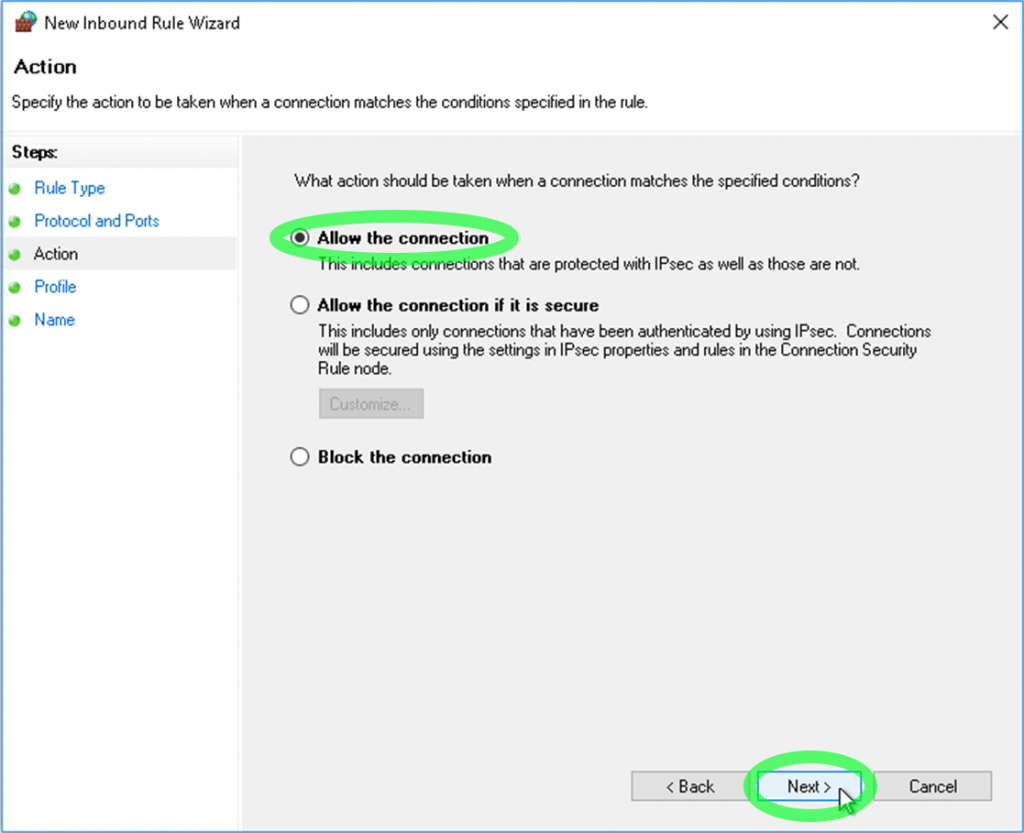
- Choose to Allow the connection and click Next.
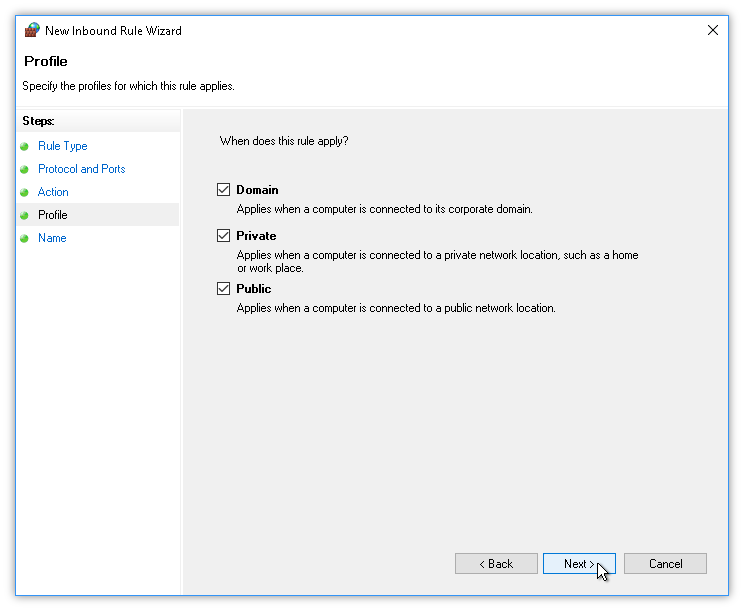
- Leave all checkboxes checked. Click Next.
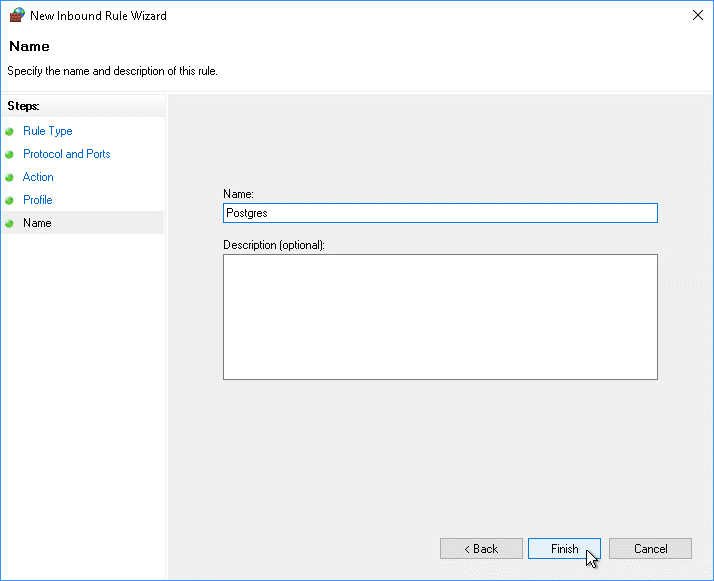
- Enter Postgres or some other suitably descriptive name which will remind us what this rule does and click Finish.
Enable Network Access to PostgreSQL
The easiest way to enable PostgreSQL to accept connections via a network is to list the IP addresses of machines we wish to allow to use this PostgreSQL installation. To do that, we first stop Postgres, we edit two text configuration files, and then we restart Postgres.
Halting PostgreSQL Service
Before proceeding, please ensure that any active Vision sessions have been terminated and the application has been closed.
- Launch the Windows Control Panel.
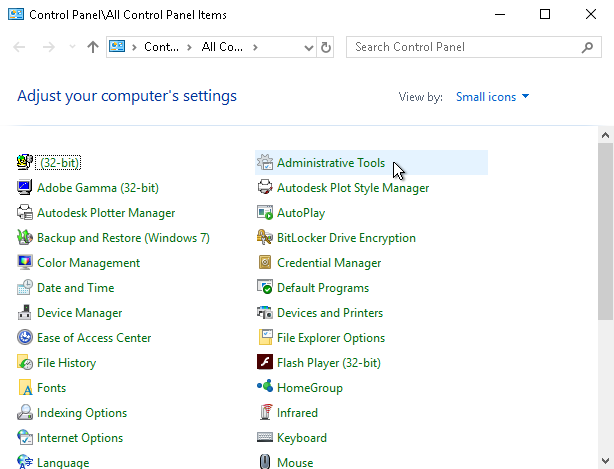
- Click Administrative Tools.
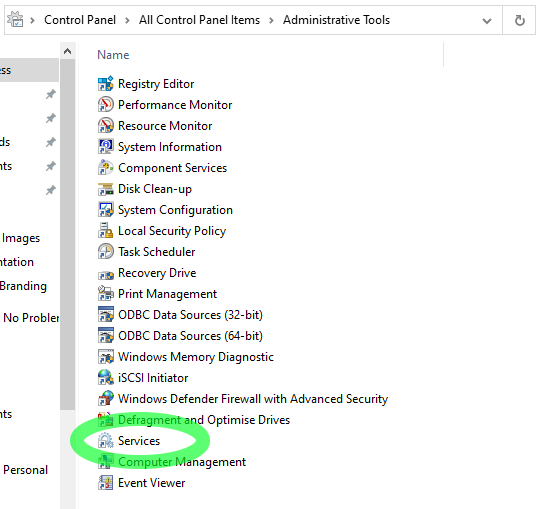
- Double-click on Services.
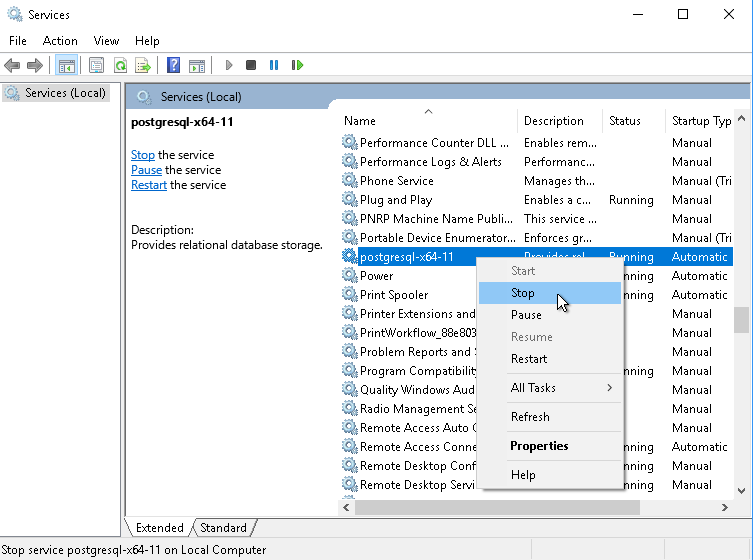
In the Services dialog, scroll down to the entry for PostgreSQL, right-click on that entry and choose Stop. This stops PostgreSQL. Leave the Services pane open, as we will need to restart this service at the end of this process.
Editing the pg_hba.conf file
- We must edit the pg_hba.conf Configuration File. This filetells PostgreSQL from which IP addresses or ranges to accept connections. We can specify either individual IP addresses or subnets. However, for this demonstration, we will be allowing an entire subnet as this is the typical use case for most Vision Installations.
- In Windows Explorer, navigate to the C:\Program Files\PostgreSQL\12\Data folder.
- Search for and open the pg_hba.conf file in Notepad.
- We will need to add a line below that line encircled in the below screenshot. The easiest way to do that correctly is to Copy the indicated line and Paste it one line below, and then make changes in the IP address as desired.

- As we intend for more than one machine on our same subnet to connect, it is easiest to add the entire subnet using a /24 designation. If your internal network is in the range 192.168.0.xxx for example, we will add the following line:
host all all 192.168.0.0/24 md5
The new line is indicated within the green bubble in the illustration below. The /24 designation allows all 254 host IP addresses on your subnet the option to connect to your database if required.

- Save the file and exit Notepad.
Editing the postgresql.conf file
Again, in the C:\Program Files\PostgreSQL\12\Data folder, find and open the postgresql.conf file in Notepad.
Look for:
#listen_addresses = ‘localhost’
If the line exists, it will need to be changed to:
#listen_addresses = ‘*’ as illustrated in the screenshot below.

In later releases of PostgreSQL, you may find that #listen_addresses = ‘*’ is set by default. If this is the case, no changes need to be made.
Close the file, saving any required changes.
Restarting Postgres Server
Now that all our configurations have been made, it is now time to restart PostgreSQL.
Back in the Services pane, scroll down to the entry for PostgreSQL, right-click on that entry and choose Start. This will restart the PostgreSQL service.
Your Postgres Server is now ready to be used with Caliach Vision as part of a networked installation. You may now close any open windows in readiness for Phase 4.
Phase 4 – Vision Installation and Configuration.
Prelaunch Config
Once the install is completed, and before attempting to launch the program there are some steps that need to be followed that are unique to the server-based installation.
- Create a Networked Shared Folder. This folder will contain the Vision data files used by the Vision clients on the network. The name of the share is not important. However, it is recommended that you give it a name to identify it as being for Vision.
- Map to the drive. The drive letter that you choose here will be the drive letter that all the client machines must use when they map to this share or their installations will not function correctly. For this example, I will assume that you have chosen drive letter Z: for use with Vision.
- Open the Vision application folder. The default path is: C:/CaliachVision-5.10
- Open the ‘Terminal’ folder
- Look for and right click on a file called ‘Terminal.inf’ and click ‘Open’ in the contextual menu. This should open the file in Notepad.
- When the document opens, you will see several lines of code. We will need to make a modification to one line. Look for ‘optServerFolder=’. This is the line that tells Vision where to look for the server folder. Change this line to read ‘optServerFolder=Z:/’. You can now save and close the file.
Preparing the Vision Shared folder
For the Vision share folder to function we need to copy data from the Vision application folder; typically, on path C:\CaliachVision-5.10, into it. Copy and paste the following folders into the Z: drive that we have just created:
- Archives
- Custom
- Data
- Extras
- Help
- Internet
- ToMoveElsewhere
- Upgrading
Post-Launch Config
- We are now ready to launch Vision. Double click the icon on the desktop. You may need to enter your licencing details at this point.
- You will be presented with the ‘Database Connection Settings pane. You will need the Postgres details that you made a copy of earlier
- Enter details as follows
- Suffix – This can be anything. The suffix is used to identify the live database when using play-data. A monika like ‘Live’ or ‘Production’ would work here, but you are free to choose whatever you feel is appropriate.
- Company Subfolder – In most cases, this field can remain blank.
- Resulting Path – This field should show the drive letter of the shared folder that we entered in the ‘Terminal.inf’ file, in this case, Z:.
- Database management system – This needs to be set to PostgreSQL
- Host – This needs to be the IP address or FQDN of your PostgreSQL Server
- SQLite Mac or Linux file path – Not Required
- Port – This is the port number that was set during the setup of PostgreSQL. In this example, we used the default 5432.
- Database name – PostgreSQL database name
- Username – PostgreSQL username
- Password – PostgreSQL password
Vision should now be working on the server.
There are two steps that are require beyond this point to get Vision working across your site:
- The Vision Share Folder needs to be mapped to each of the client machines on your network. There are several ways to do this. Your network administrator should be able to complete this task. As mentioned previously, the drive letter on the client machine must match that used in the setup process.
- A copy of the ‘Terminal.inf’ file modified during the server setup needs to be copied onto each of the client machines. This file contains the information that Vision requires to know where and how to connect to both the database itself, as well as the Vision network share folder. It should be copied from C:\CaliachVision-5.10\Terminal on the server and placed in the equivalent location on each of the client machines.
Provided that all the steps in this document have been followed correctly, your Vision server installation should have been successfully migrated to your new server.